Kitchens are like warzones; great things happen in them and so do bad things.
Very unfortunately there is always cleaning involved and poor cleaning of kitchens and bad kitchen hygiene can lead to very bad experiences in health and guest relations.
To help you with dealing with kitchen hygiene we have prepared a kitchen cleaning guide with some of the most efficient methods of dealing with kitchen cleaning. These kitchen cleaning methods are designed to help you tackle your kitchen chores in an efficient manner.

Lets first focus on certain principles. Organisation. Great organisational skills are important for dealing with kitchen cleaning. This is because a kitchen is a single room at home that contains perhaps the most items tucked away.
Without any reach to these items, mould, grime, and fungi can creep into these areas uncontrolled. From a hygiene and health standpoint, this is a great risk.
So here goes step number 1.
Removing everything from furniture and fittings are important to discover areas and corner that are inaccessible. These areas need further attention once they are cleaned up.
The end goal is to ensure that these spaces should be properly sealed to ensure a minimum number of free moving particles can reach the area.
This ensures the shelf life of the hygiene post-cleaning can be prolonged reducing the number of cleanings needed to attend to.
Having lesser stuff in life is important, especially food. Food is kept for consumption, not to be stored or hoarded (except in some cases canned food). This means the more consumables you store without consuming them creates additional risk points for the consumables to develop into degradable disposables.
Besides consumables, other items in the kitchen need to be disposed such as kitchen wares that are not frequently used.
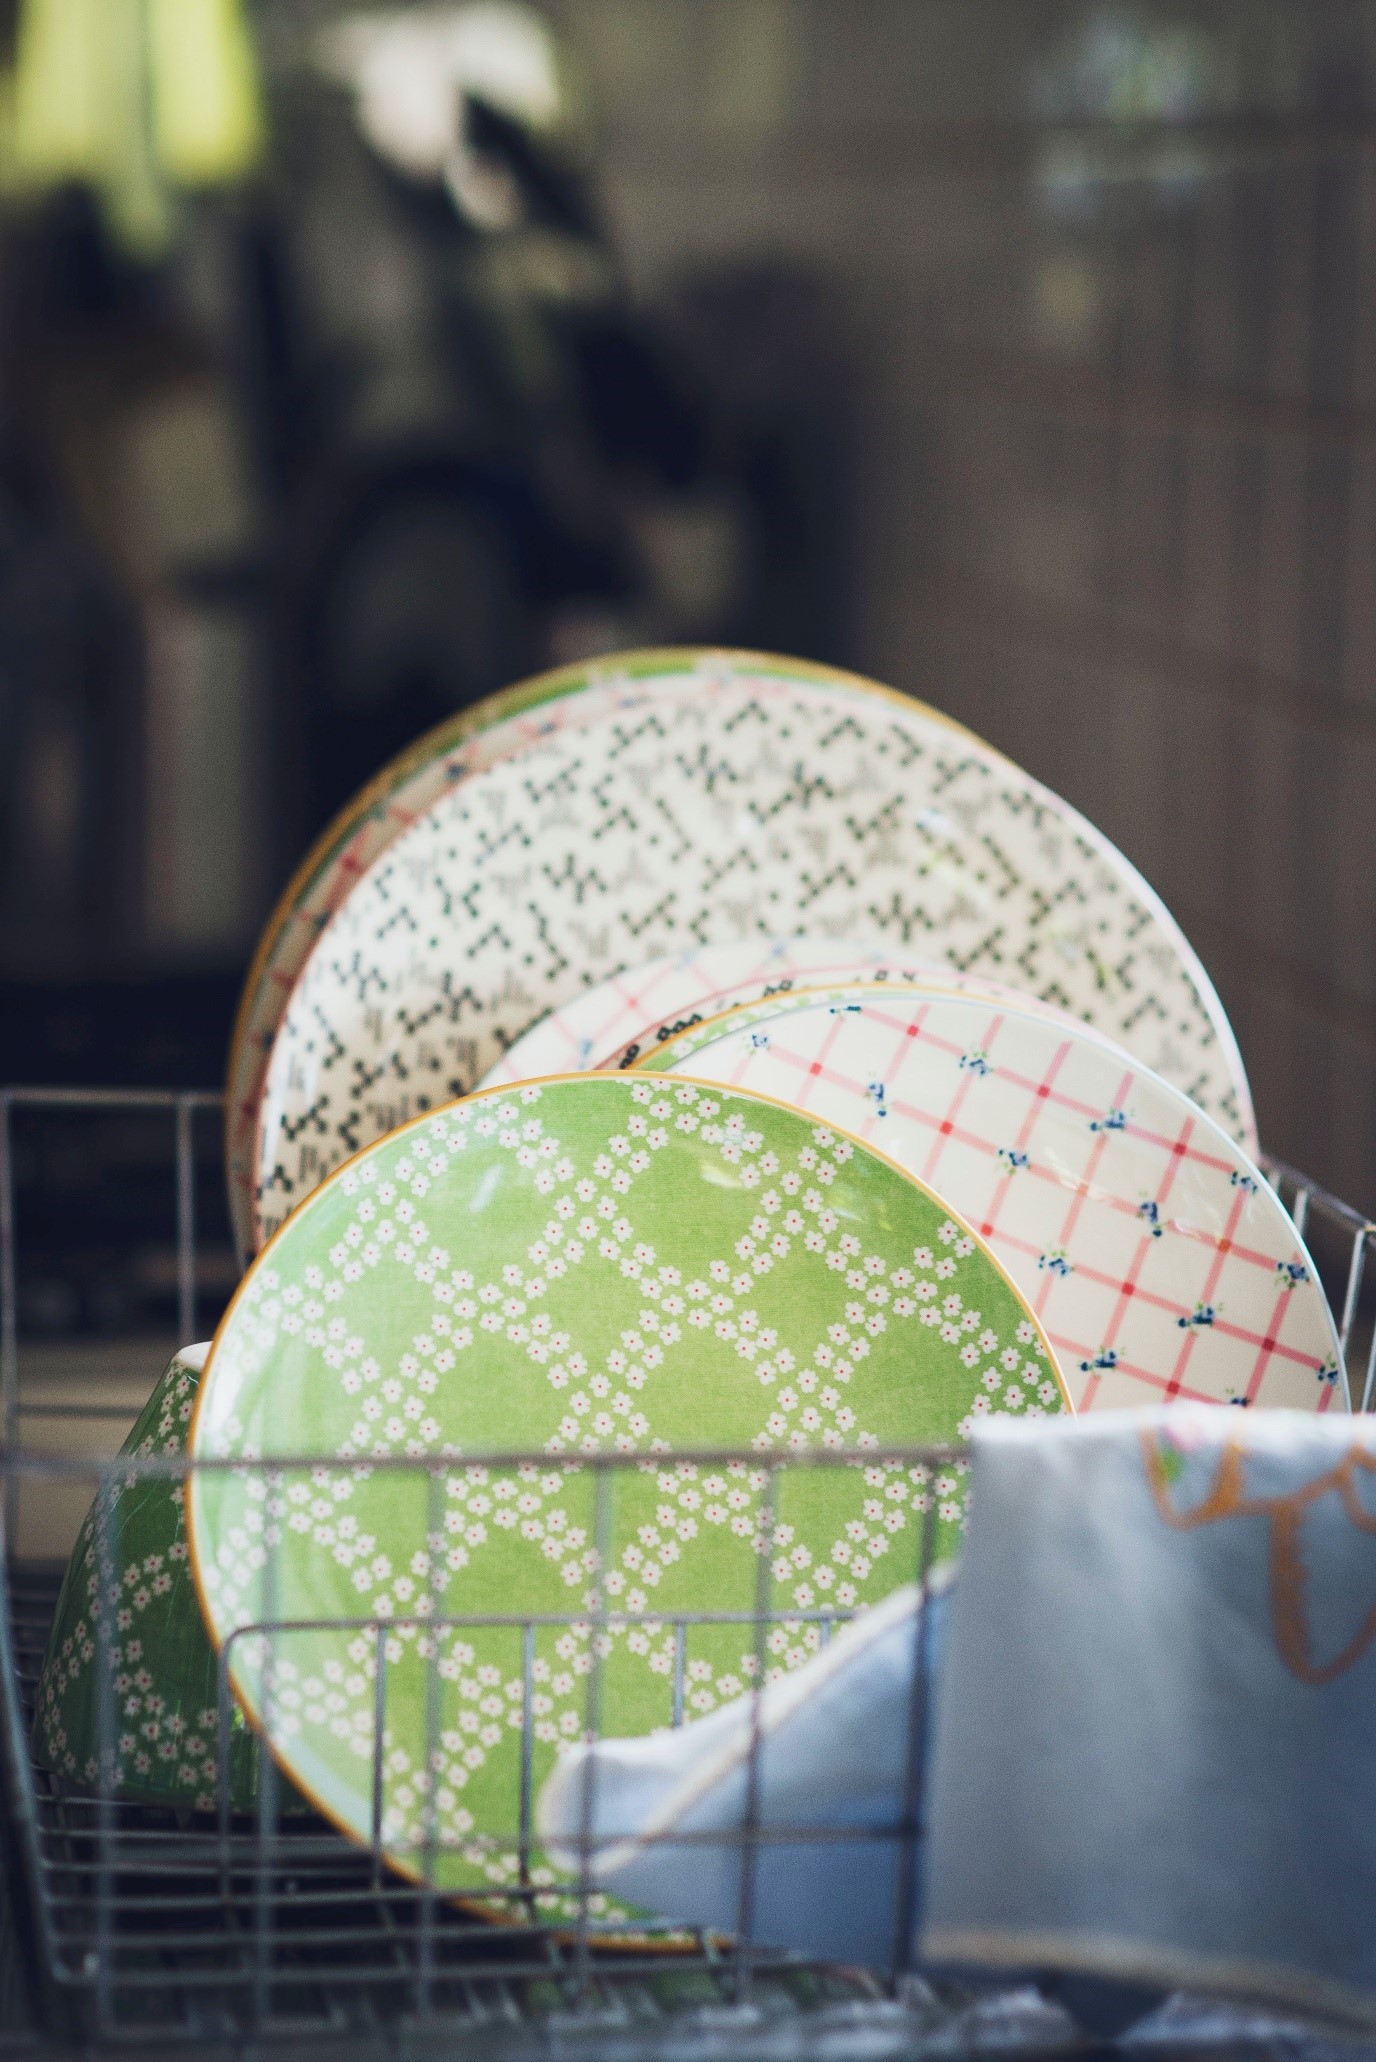
This is the first step to the cleaning of the kitchen. The cleaning of the kitchen items. For the cleaning of dishes, a neat trick is to soak all the dishes in dishwashing liquid and boiling water for over ten minutes to sterilize them. You can simply plug your sink boil a pail worth of boiling water.
Put all the dishes in the sink and then pour the boiling water into the plugged sink. Add 100ml worth of dishwashing liquid and bring the water to stir with a spraddle.
Once you are done with the cleaning of kitchen surfaces, return to sponge the dishes with detergent with and dry them with a separate dry cloth. Organise your dishes and stack bowls with bowls, cups with cups and plates with plates.
Alongside dishes are removable storage components. Remove them and repeat the same process with dishes.
While you wait for the dishes to dry, you should start dealing with all the surface areas and storage areas in the kitchen. Always make sure you have baking soda ready. For those of you who do not know.
Baking soda is an antacid and effective mild alkali. What this means is that is can break down the protein compounds of oil and grease easily and allow them to easily dissolve into water.
This allows you to easily deal with grime which is biodegradable, and which promotes the growth of fungi.
Baking soda is a natural mild salt that also adsorbs odours by using its alkaline functions to neutralize the acidity in odours.
Prepare 100g of hot water to 100g of baking soda to create an effective surface cleaning solution. Apply the solution to all surfaces and clean them until the stains have disappeared.
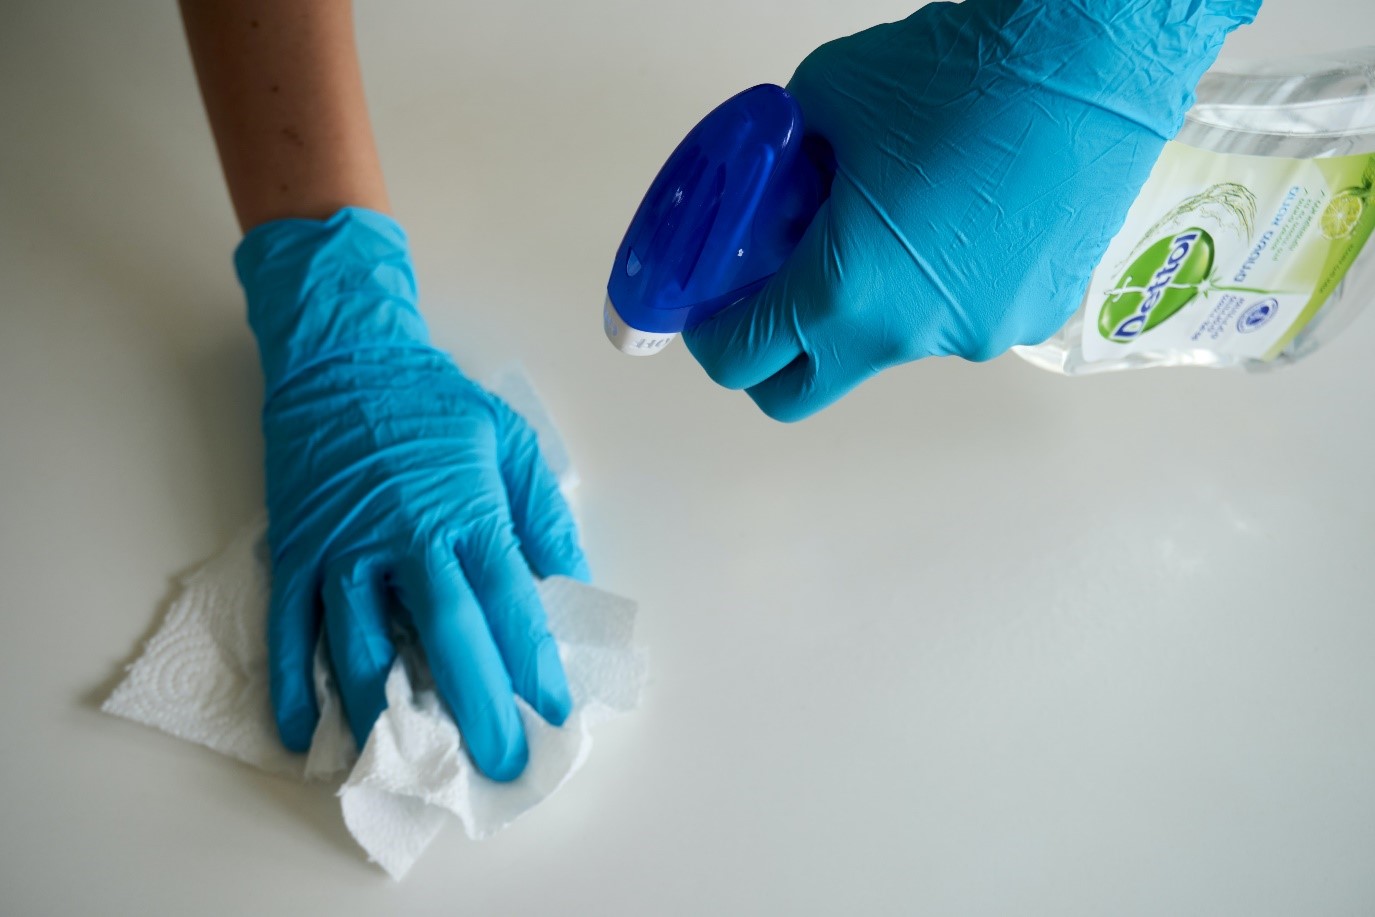
Wipe all the surfaces once with an anti-bacterial wipe. Let the anti-bacterial wipe do its job as you move around the kitchen in a circular fashion.
Following the same circular fashion, use a wet cloth to wipe the residual from the antibacterial wipes. Leave them to try and prepare to re-organise
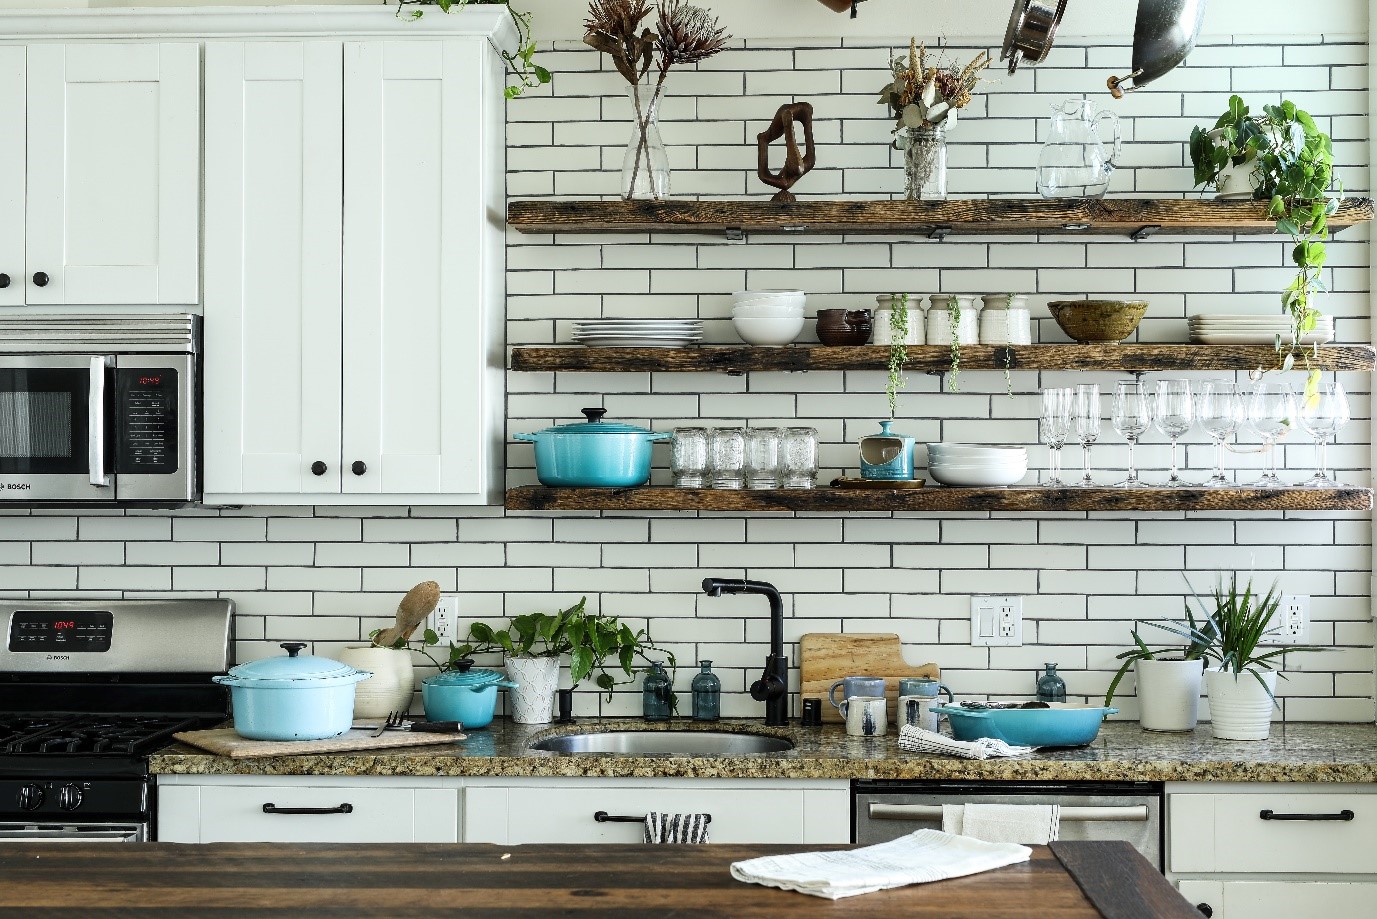
Removing everything also lets you organise what needs to be accessed easily and what need not be accessed easily. Items that need to be organised frequently such as dishes and cutlery should be placed in free reaching spaces that are easily maintained in the future.
Whereas items that are least used like those wine glasses that you put up on display should be placed in display cabinets or hard reaching places such as overhead compartments.
Food should have the same concept when arranging them in a fridge.
As a general rule of thumb to avoid degradable waste and food always ensure that you only have as much and enough food for a full freezer and fridge, anything more is probably going to result in food waste and your additional effort and time to police these degradable consumables and to clean them up.
Once you have finished organizing, put all of them back.
It sounds straight forward to get all that cleaning done. The labour commitment is however a serious time and energy investment. It’s worth admitting and recognising that we should probably get help from a cleaning service or a part time maid when the time and energy investment becomes a weekly affair.