Home Improvement

Jeans Knee Repair Technique Tutorial

Jean’s knee repair technique is a new way to darn clothes that do not use a needle and thread. It is a cheap, fast, and easy way to mend clothes without having to go out and buy a new pair of jeans.

It is basically more comparative to an ancient technique known as the calico patch. This patch was intended to be comfortable on the inner side of the clothes that would touch the skin.

image - Jeans Knee Repair Technique Tutorial
Jeans Knee Repair Technique Tutorial

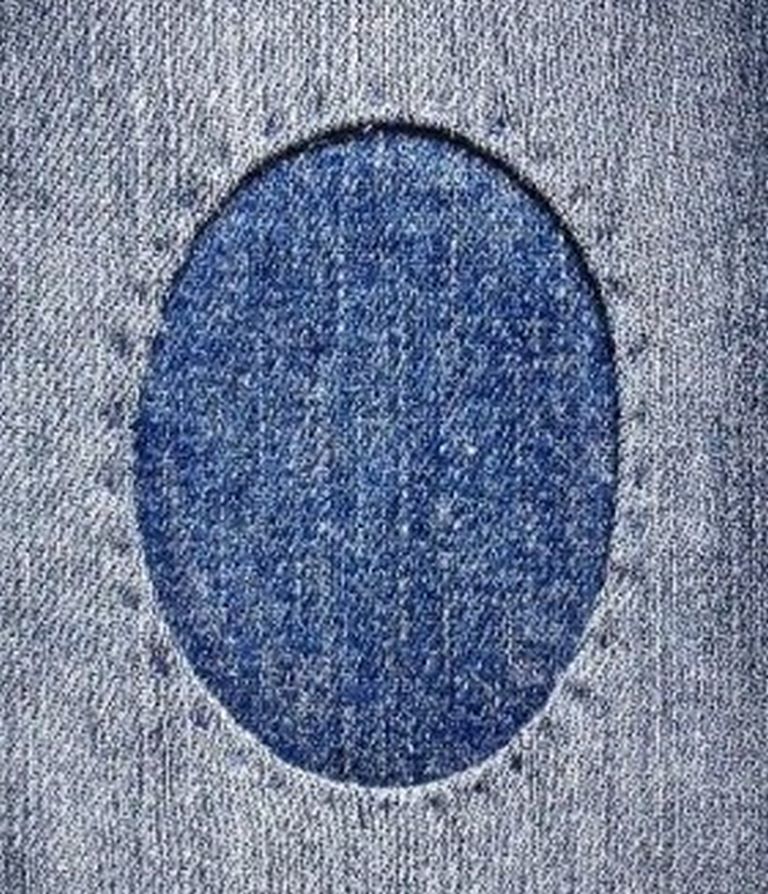
Fast forward to the twenty-first century, it is now applied in a new way that is opposite to the way it was used in the past. Now instead of attaching the patch on the outside, it is attached to the inside of the clothes.

Besides repairing your jeans, it would give them a fancy and attractive touch. This technique is applied well on jeans’ knees and cotton shirts’ elbows that have worn out.

Moreover, the process is completely done by hand so you would think of it as a slow process but most sewists enjoy it. Sewing machines won’t be able to repair such areas like jeans’ knees and shirt’s elbows etc.

If you are looking for a true workhorse sewing machine then we suggest you to visit SewingScope, where sewing experts have put up their personal opinions for sewing enthusiasts like you.

Things You Would Need

  1. Fabric Scissors
  2. Hand-sewing needle
  3. A pencil for making marks
  4. A thread that matches the fabric thread
  5. Iron
  6. Fabric patch
  7. Pins

Pro Tip: Whenever you are doing this technique make sure the jeans and the patch fabric have almost the same weight. If you work on two different weight fabrics, chances are that one of the fabrics will wear out very soon.

Secondly, make sure you pre-wash the fabric patch so therefore pre-shrink will prevent it from failing the repair.

The Step-by-step Process

  1. Mark Up Your Working Area: Get the pins and pierce two of them around the target area of the jeans i.e the blown-out knee. It will define a boundary for you to focus on and keep in line.
  2. Find A Shape: You can literally use any shape like a square rectangle or a circular one but I personally love oval shapes that fit the aesthetics. So find an oval or any shape and place it amongst the two pins. Make sure the size of the oval fits in between the two pins. Draw around it with the pencils to print the same shape on the jeans between the pins.
  3. Draw Another Oval around the printed one and make sure it is larger than the previous one. Now use the scissors to cut the small oval into small parts.
  4. With the hand-sewing needle, stitch the outer bigger oval you marked with the pencils. Once done, move the small oval cut parts inside out so the stitches remain to hide behind the small parts.
  5. Make A Rectangular Patch: A patch that would stay inside the jeans and only a circular or oval part of it would visible to everyone. Make sure it is a few centimeters larger than each side of the oval.
  6. Use The Hand-Sewing Needle to stitch the rectangular patch on the inside of the jeans.
  7. Finishing is important. Stitch around the oval or circular shape you made so the rectangular patch behind the hole remains stuck to it.

Conclusion

If you did all this in a step-by-step way as we have guided you then you would have a nice repair on your jeans that would like eye-catchy and attractive than normal ones. Enjoy the new fashion and save the extra bucks.

Share
Published by
Perla Irish