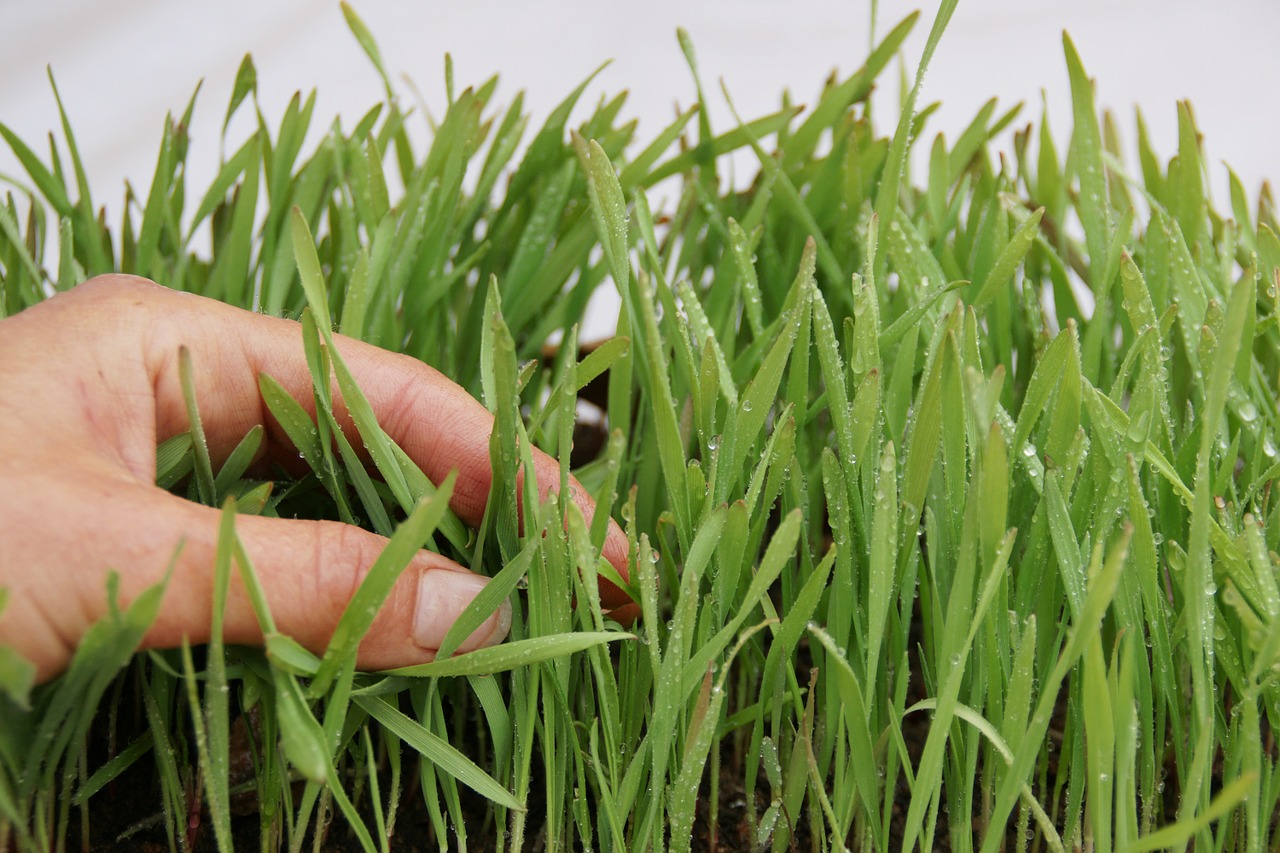
Are you faced with the challenge of how to plant grass seed on hard dirt? Worry no more. Planting grass seed on hard dirt is simple if you take time and dedication.
However, you may wonder what causes hard dirt soil. To begin with, hard dirt consists of very tight particles that prevent the entry of air, nutrients, and water into the soil.

The main cause of hard soil is regular traffic on foot which makes the specific area on the ground generally hard.
Therefore, in this article, we will try to go through some of the challenges that you normally encounter and some steps you can take to easily plant your grass seed on the hard dirt. Let’s have a look below.
Turning your hard dirt environment into attractive green grass is sometimes not a one-plus-one. However, the guide below can help greatly to achieve your desired environment.
Growing healthier grass may be challenging especially when you don’t know the deficiency and condition of the soil.
It is, therefore, crucial to carry out a soil analysis or test to get a better understanding of the proportion of sand and other organic matter that makes up the soil.
The main reason for laboratory testing is to know the missing nutrients.
You need to collect a given sample of the soil and take it to the nearby soil examination center for analysis. To get accurate results, you can dig any garden soil from your lawn.
Once you complete digging from various areas in your lawn, you can mix them up by taking small portions from each sample you obtained.
Take them to the laboratory and test them. The lab will enable you to come up with the best fertilizer for your garden.
If you want the grass to grow perfectly, you have to ensure that the ground below has maximum space for the storage of water and circulation of air.
Also, you can use a core aerator to come up with topsoil channels where nutrients, water, and air can pass through the soil.
The aerator tool usually makes very small holes with a cylindrical shape that are useful in removing cores that facilitate easier planting. Ensure that you carry topsoil aeration two times a year.
Read Also:
At times, soil aeration is not enough to remove the entire problem because the hardness may be severe.
Therefore, when such arises, it is good to loosen the entire ground by digging the ground for about six to ten inches. How can you till the super hard ground? You can only use a machine called a rototiller.
The soil sample test you carried out above helps to identify the exact deficiency of your soil in your lawn. Once you complete with aeration and tilling, it’s time to apply the right amount of fertilizer required on prepared ground.
At this stage, you need to have a rake and wheelbarrow to ease the entire process. It is good to note that the amount of fertilizer applied should be 25-50 percent of the total weight of the soil.
Depending on the conditions and location you are in, it is accepted to till up to 18 inches deep rather than 1 or 2 inches mentioned above.
When you complete mixing the soil with fertilizer, you can use the rake to level the ground several times until it becomes uniform all over.
You should not worry about the growth of grass seeds on the hard dirt since you have prepared the soil for your lawn.
Besides, it is good to know that grass seed planting requires proper skills and techniques. For proper planting of grass seeds, therefore;
At this step, you need to put your grass seedbed in water. You have to be very careful so that to avoid overwatering the new seeds planted on the lawn.
Before germination, ensure that the top 1 inch of the soil must be moist throughout.
However, when the seeds start to germinate, you can now ensure that the top 2 inches should be moist until they reach the height of 3 inches. At this stage, remember to water your grass seeds two times a week.
The reason for fertilizer application at this stage is to ensure that the grass is healthy and enriched with nutrients.
For correct fertilizer application, use ½ up to one pound for every one thousand square feet of your lawn.
Maintain this quantity every two months from the time you planted be it during fall, summer, or spring season.
You can now mow the grass once it reaches a height of three inches. However, the height of cutting the grass depends largely on the season of the grass.
That means that you are allowed to cut the grass at a height of two inches for the cold season. For the warm season, you can cut them at a height of 1-2 inches. Remember to use a sharp lawnmower to cut the grass.
You can agree with me that for better results in any work, you must dedicate yourself with a lot of passion.
Planting grass seed on hard soil is as simple as outlined above. Therefore, follow the step-by-step guide above for you to get the best out of it.