Learn how to make concrete molds for pavers, patio blocks, and walkways.
Step-by-step instructions for making a mold and using it to produce pavers and block. Make a number of molds in different shapes and sizes for patterns.
Learn how to make molds for pavers and blocks for patios, edging, and walkways. Step-by-step instructions, materials required, and assembly drawing.
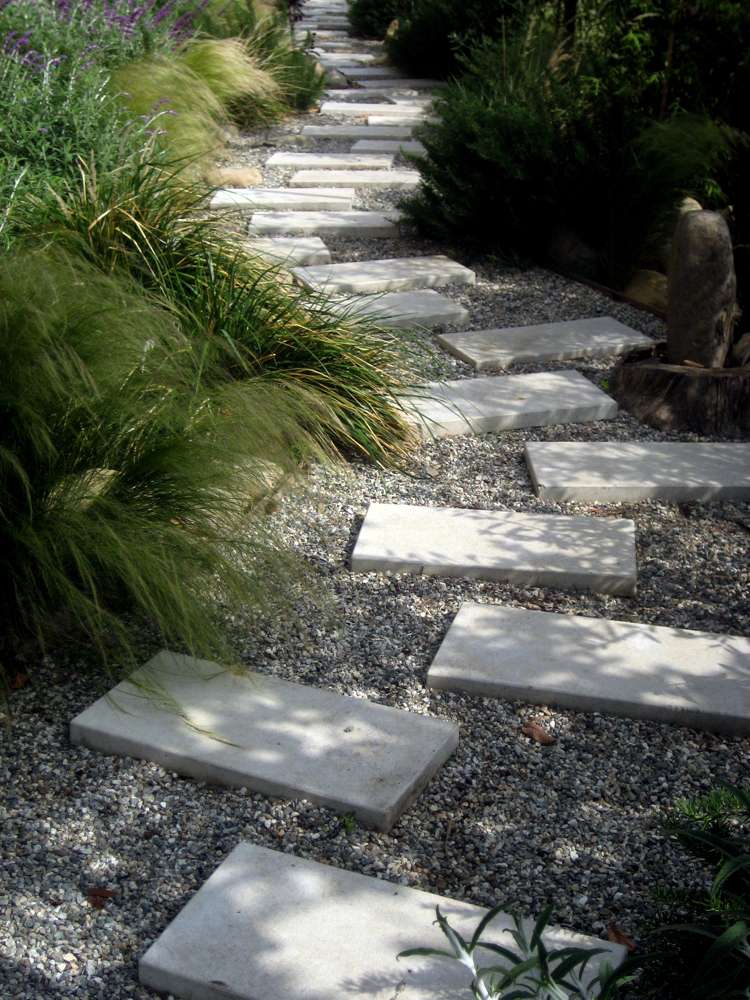
Concrete molds are easy to make and use. Make molds easy to reuse and make multiple molds for greater production. Use molds of different sizes to create patterns for walkways and patios
Read Also:
Make your own custom concrete pavers and blocks.
Concrete has been called one of the most versatile building materials available. But its use isn’t limited to buildings and structures. It has many other uses including sidewalks, driveways, and walkways.
Because concrete is essentially fluid (albeit a chunky fluid) before it hardens, it is usually poured into a mold and allowed to set (cure).
In foundations, these molds are called forms. But for simple patio or walkway blocks, we just call it mold. This process describes how to make concrete molds for patio or walkway blocks.
Decide what size you will make the mold;
The edges of the MDO will absorb water from the concrete. Seal all the edges (not the faces) of all the MDO pieces with an oil-based paint primer with a brush and let it dry. Apply two coats of oil-based paint to the edges.
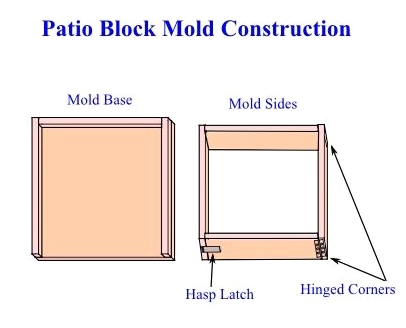
How to make concrete molds:
Always coat the mold with paraffin before pouring. Remove the mold sides from the base, unfolding them to lay flat.
Rub paraffin wax on the sides, bottom, and top edges of each piece, coating the entire inside surface. Do the same with the base. The paraffin must be smooth and fully coat the entire inside surface of the mold.
Determine how much concrete to mix by the volume of the mold.
Mix the concrete according to the manufacturer’s directions. A somewhat liquid mix is desired, as opposed to a dry mix. You must be able to pour the mix. With the mold sides in place and the front latched, seal the corners with paraffin.
Pour the concrete into the mold and screed the top of the mold with a flat board or trowel. Apply a sander without sandpaper to the side of the mold to help remove air pockets and bubbles from the concrete.
When the concrete begins to set, use the edging trowel to form smooth, rounded edges on the sides. Give the concrete another hour to set and become fully hard. Carefully turn the mold over —the concrete is still fragile— and lift off the base.
Open the hasp-latch and remove the sides from the concrete walkway or patio block. Give new blocks seven days to cure before installing or walking on them.
Each mold will produce 25 blocks or more, depending on well the mold is coated with paraffin and kept sealed.
After all that work, now you can finally enjoy your new patio. Even if it’s cold outside, you can get a patio heater on https://www.globosurfer.com/best-patio-heaters/ to ensure that you keep enjoying the relaxed outside atmosphere.