The dripping noise in your bathroom is a sure-shot sign of a leaky bathtub faucet, and it’s the time to chase and fix it!
As per a report, leaky faucets result in a wastage of thousands of gallons of water every year, and you might have seen its impact on the surging water bills.

Most folks think that fixing a leaky faucet is a task only a plumbing guy can handle! Well, you don’t need a lot of plumbing expertise to repair a leaking freestanding tub filler.
Here are the essential steps to follow to ensure the faucet doesn’t leak anymore.
Reasons Behind a Leaky Bathtub Faucet
Before I hop on explaining the steps of how I fixed a running faucet, it is essential to understand why a faucet leaks. Even if you have a brand-new bathtub faucet, it may leak due to faulty installation and loose O-rings and washers.
Other such reasons include mineral build-up, wear and tear, and corrosion. Now let’s get back to the steps to fix a leaky faucet.
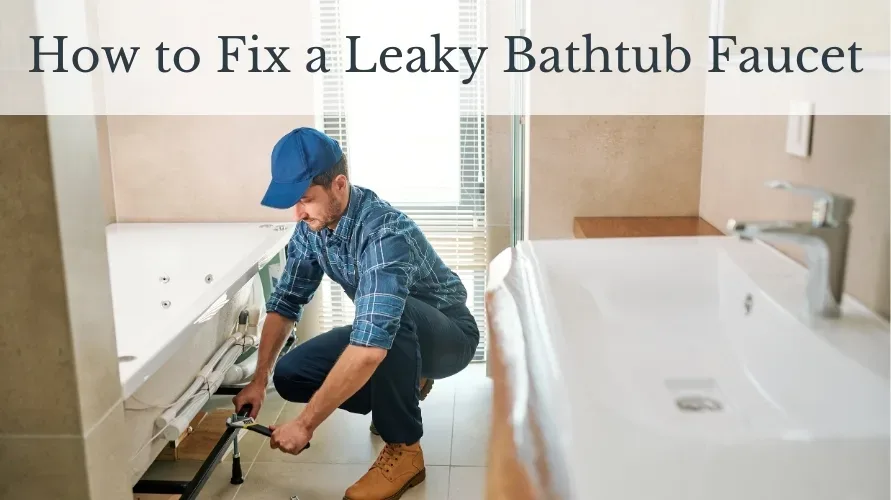
Step 1: Gather the Required Tools and Accessories
You need the following tools and accessories before getting started with the final process:
- Faucet handle
- Adjustable wrench
- Washers
- A cleaning cloth
- Faucet stem
- Socket wrench
Step 2: Turn the Water Supply Off
If you don’t want to get hit by a shower of water, turn the water supply off before getting started. Find the main water line connecting to the bathtub faucet, and turn it off.
After turning off the main supply, turn the bathtub faucet on and let the remaining water flow down the drain.
Read Also:
Step 3: Unscrew the Faucet
Unscrewing the faucet means removing the handle and finding the inner mechanism which is responsible for leaks.
Remove the decorative cap attached to the rotatable handle. Once you remove the cap, you will see a screw holding the valve with the faucet mechanism.
Use a screwdriver to remove the valve in order to inspect the washer and other components. If you see corrosion on the screw, use some oil for lubrication purposes.
Never force open the handle, as the faucet can break down, and I hope you don’t want that.
Step 4: Inspect the Innards of the Faucet
After removing the inner valve from the faucet, inspect it properly to find out any issues. Check the O-rings and the seals to make sure that there is nothing wrong with them.
Now scrutinize the faucet stem and washer. In most cases, the washer is responsible for leaks because it loses its place due to friction caused by rotating the handle.
Step 5: Replace the Required Component
After inspecting all the components properly, replace what’s required. Here are some steps to replace the washer or the faucet stem.
You will find a rubber seal at the top of the faucet’s stem. It is known as the faucet’s washer that holds the water when you turn the faucet off.
So, there is nothing wrong with the washer, but the water is still running after replacing the washer? Well, there may be something wrong with the faucet’s stem.
Replacing the stem can be a challenging task, but you can do it with the following steps:
- Clean the dust, gunk, or wax build-up from around the stem’s base. Now use an adjustable wrench and loosen the bolts to access the stem. Use a socket wrench if the bolts are installed on the wall.
- Once done, you can remove the existing stem, then install a new one in place. If you are not sure how to install a new stem, here’s a video that will help.
- While replacing the stem, be gentle with it, and don’t apply a lot of pressure using a wrench.
- After the installation is done, reassemble all the parts and test if there is still any leak or not.
Final Thoughts
With all the above-mentioned tips, it’ll be easy for you to fix a leaky bathtub faucet. In case if the faucet is still dripping, then it is time to call a plumber to get the issue resolved.
Or if you think the faucet is too old and is beyond a repairable condition, it’d be great to invest in the best freestanding tub filler.
Lastly, make sure to wear protective gloves to ensure that your hands don’t get dirty when handling the wrench or other such tools.
Author Bio:
Hello, this is Richard, working as a Sr. Editor for BathAdvisors. I assist the writers in creating article outlines, structural edits, and proofreading. I also contribute to BathAdvisors through my blog posts. I spend my pastime reading books and gardening.


 4")


