When it comes to learning how to digitize the embroidery designs, it is a little complex and tiring task.
Therefore, most of the embroidery experts out there simply buy already prepared or digitized designs allowing the creativity of others to shine on their fabrics and simply get on with it.
The origin of this pitfall is when the professional thinks that digitizing means auto-digitizing machine embroidery designs. To avoid this misconception and enhance your embroidery skills, consider enrolling in embroidery machine classes. These classes can provide valuable insights and hands-on training to help you master the art of digitizing and creating high-quality embroidery designs.
The most obvious thing that you require in order to digitize the embroidery designs is to have an embroidery machine and the digitizing software at your disposal.
Most of the embroidery machines come with built-in software. For Example, the Brother PE800 embroidery machine, which is TenDotReviews top choice, comes with proper embroidery software.
Many professionals push off on the idea that the digitizing software does all the work for them but they are clearly in the wrong.
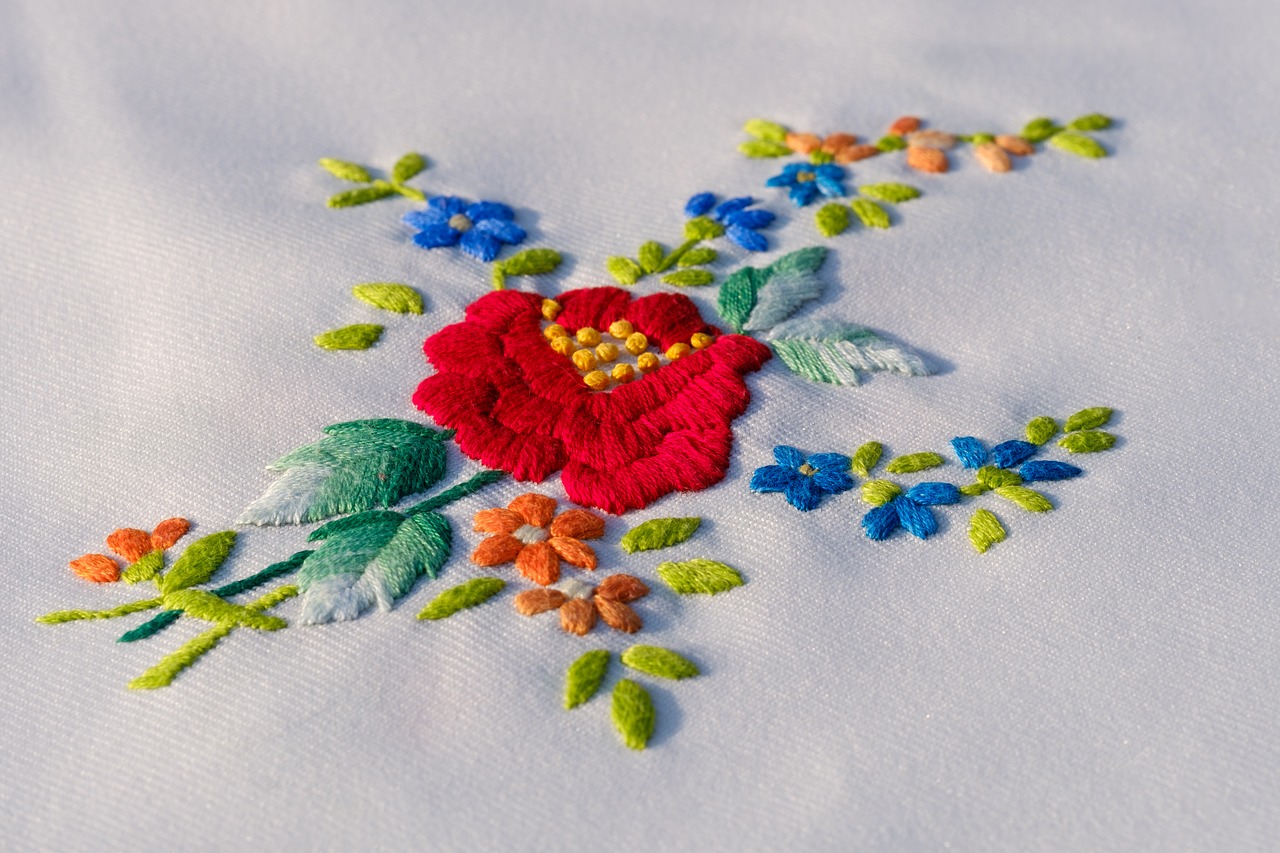
As it is not the digitizing software that is responsible for all the work the picture that you have to choose for digitizing plays an important role in this whole machine as well.
As explained earlier that you need a steady photo that the software will be digitizing for example within this photo the sleeve of the person is slightly out of the crop then the software will automatically leave that out of the frame and that part will appear solid colored.
But to the human brain, the difference can be spotted right away, as both the sleeves would have to be of the same design and color that is why a human digitizer would create the missing link out of their memory and creative intellect.
If you only have the software that is going to digitize things for you then you are clearly stuck with it as it depends entirely on the software such as how it will interpret the artwork.
But if you are doing it on your own or using the intellect of other professionals then you will be able to work your way around the missing things from the picture and fill them in with your imagination.
If you have the human input working for you then you will already be able to outsmart the situation and it would be better than any other auto-digitization software there is.
Many professional embroidery experts do have digitizing software but they don’t have anyone that can teach them how they can digitize using that software.
That is why the first question that you should be asking yourself is who would teach you how to use this software.
The core concept about digitization is that someone does it for you, teaches you the trade, and then you do exactly like the person did, filling in the footsteps.
Starting out with the digitizing software; no matter what type of embroidery machine that you are using it won’t be able to communicate with a computer system to understand what type of digitizing it has to do.
This is where the idea of digitizing software comes into play as it transfers the base format of the picture into something the machine is able to understand and execute the design flawlessly on the fabric.
The embroidery file type would entirely depend on the type of embroidery machine that you are using.
Once you know what kind of embroidery machine you will be working with only then you will be able to convert the artwork or logo onto the fabric using dedicated digitization software.
Following are the steps that you need to follow in order, to begin with, the digitization of your design;
At first, you need to upload your logo or picture that you want to digitize into the software and then crop any unworthy elements out of it such as budged-out borders and inconsistent lines. This is the first step that you need to complete.
Choose the very dimensions that you want for your main design, and bring into account the dimensions of the fabric/cloth that you need to work on and other such factors too.
Lock the picture so it stays in the needed dimensions before you can begin to push forward.
There are various different types of stitches that can be used for the sake of designing the logo or picture of the fabric.
These might vary depending on the stitch length that you require, texture, and other dynamics of the design. For example, the straight stitch is more appropriate for making a pattern or outline and also for shading and detail-oriented work.
The satin stitch is used to work with words/texts as well as borders and other stuff to deliver a shining or stunning look to the overall design of the digitization.
Fill stitch is used to cover up the design with floating and dynamically attractive colors, filling in shapes, words, or other segments that need a filling.
This is like creating a detailed roadmap for your machine to follow, you will be creating a step-by-step path and feeding the embroidery machine with information and the stitch type that you need to work at.
Coming up with an innovative stitch direction will save you an incredible amount of time and thread in the process.
It might not sound like much but it is too an incredibly detailed and overwhelming process.
Here you would have to choose a particular color that serves a dedicated section of the design and thus coming to follow this particular setting you will be able to allow a mix of colors to the overall design.
The final thing that you need to do is to change the format of the design file that is compatible with the sewing machine that you will be using and load the design within the machine.
Only then you will be able to accomplish something out of it and the embroidery machine will be able to thoughtfully execute these detailed settings, to begin with.