If you are a car lover or a DIY enthusiast, you must know what is a fender flare. It is a very nice extension for your cars’ exterior.
It not only enhances the look of your car, but it is also a protective material.
In this article, I am about to show you how to install these fender flares.
Whether you install it by yourself or do it by others, it is better to know about the installation process. Let’s take a look at how to install fender flares:
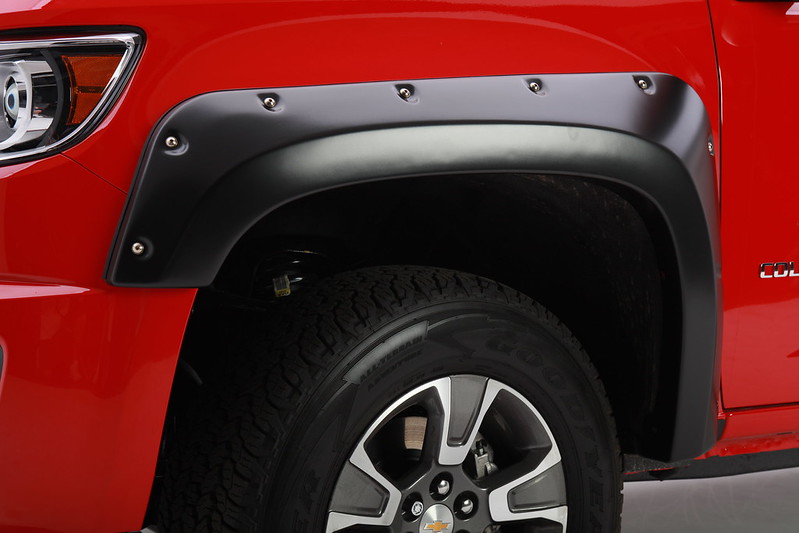
Fender flares are basically an extension part that covers the fender of a car. Some people use it on their car as a modification of their exterior.
But this is a very important part of a car also. They cover the large-sized tires and wheels.
Fender flares must-have equipment for off-road drivers. These flares protect your cars’ body from rocks, mud, water, and other debris which can flip by the wheels and hit the body surface of your car.
These flares not only protect your car from all these but also the other cars that are around you.
Read Also:
Let me tell you a story, once I was looking for fender flares for tundra that I bought earlier. I told my friend to buy one for me.
He bought one for me and when he brought that to me, I was shocked. It was not a perfect match for my Toyota tundra!
I had to search again and find a website carcarehut.com they recommended a product for my Toyota tundra and I bought this one which was a perfect match for my cars’ model.
From my above experience, you can easily understand that you have to choose the proper fender flares according to the model of car that you have.
It is obvious that fender flares that are built for ford will not be compatible with Audi. Sometimes you will find flares in sets of two and sometimes in sets of four.
It will be better for you if you read the manufacturer’s manual book for the fender flares that you will purchase.
Another important thing that you should keep in your mind about flares is the material of them. Some fender flares are built with plastic and some with ABS and polyurethane.
Make sure the material of your fender flares can handle UV rays. I had a set of flares which were made from plastic and the exposure part of it was damaged and they were aged in a very short period of time. So choose the flare material carefully.
In the market, you will see two types of fender flares. They are paintable and non-paintable.
If you wish to re-paint your black color fender flares, ask the seller or check the manual book if they are re-paintable or not. Most of the flares available in the market are black in color.
Size is a very important fact for flares. When you are looking for flares that will tightly hug the body of your car and this is only for decorative purposes, then any size is ok.
But if the purpose is protecting your car from the debris on the road then it will be much better to choose flares that will extend more than the edge of the cars’ body.
It will protect your car and other cars that are beside you from reflecting rocks from your wheel.
And here comes the important part, installing the fender flares on your car. It’s not that difficult and you can do it by yourself.
To help you out, I have described the whole process in sequence. Let’s take a look at the process:
After you complete step 9, your installation process of fender flares is completed. You will need a mini drill machine, screwdriver, and wrench of various sizes.
After you have finished the task, collect all the equipment carefully. A wrench organizer can help you to assemble the wrenches and a tool bag to keep the tools safe.
Installing fender flares in your car is not a hard task to do. It is a very easy task when you have the right set of flares and proper tools to complete the task.
At last, one final tip, after finishing the task, doesn’t forget to clean your hand with a hand cleaner.