Currently, live edge wood is one of the trendier styles for rustic furniture.
Although it has been around for quite a long time, live edge wood slab furniture is grabbing attention everywhere right now.
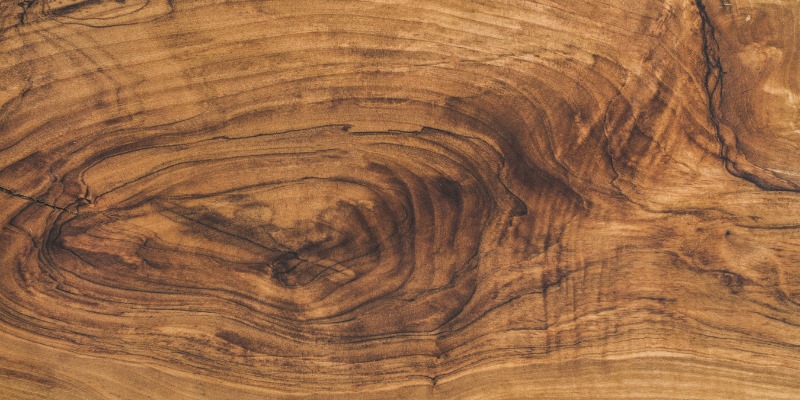
There is a particular beauty to these one-of-a-kind edge slabs that straight edges simply cannot provide. Known for its natural, rustic look, it still needs finishing, sanding, curing, and sealing to be used for an extended period of time.
First off, the buyer has to be extra cautious when buying a live edge slab. Ensure that it has the right dimensions and invest in the right wood type.
Now, the market has finished and unfinished slabs, most people buy unfinished live edge wood slabs as it is cheaper. Here is what you need to know about how to finish a live edge slab of wood
Bark can be inconvenient for the homeowner as it is difficult to maintain and clean. Work your way around the edges and peel the bark off in 6 to 8-inch (15 to 20-cm) sections.
Then, use a rotary tool and a sanding flap wheel to sand the edges. It is up to the owners as to how much they sand the edges. As wood has wormholes under the bark, the owner can sand them or leave them as it is.
Read Also:
A slab often has sharp edges and uneven top surfaces; therefore, it needs to be flattened to be used as a writing desk or a rustic side table. A perfectly flat top surface is also imperative to a smoother finish. Use a power sander with 60-grit or 80-grit to get desired smoothness.
Bridge gaps and stabilize cracks with butterfly keys or bowtie joints. Using the router and the chisel, create a pocket in the slab exactly the same size as butterfly keys and sand them down.
It is common for the live edge wood slab to have voids; some are present in the middle while others extend to the edge. Either you can leave the voids hollow or make a 2-part epoxy and fill it in the voids.
Sand the surface to achieve maximum smoothness with 80-grit sandpaper and then work your way up to 120-grit sandpaper. The more you sand the better for a smoother finish. Vacuum the surface to get rid of the dust, otherwise, it can get trapped in the finish.
Next, apply a polyurethane coating with a sponge brush to seal the surface. Once the coating has dried, sand it down with 500-grit sandpaper, and repeat the process twice. Then, wipe the surface with mineral spirits and wet-sand it using 2000-grit sandpaper.
For a glossy finish, apply shellac, once dried, sand it using 400-grit sandpaper. Apply 3 coats and finish off with a spray of lacquer for a long-lasting finish.
Apply 3 coats of wood oil using a cotton rag followed by 1 coat of wax to bring out the natural grain. Give the finish ample time to cure before using it as a bench, table, headboard, etc.