If you live in an older home, your HVAC system is probably not very energy efficient.
Unfortunately, this means you’re likely paying more than you need to on your monthly energy bill. Upgrading to a ductless HVAC system can help you reduce your energy costs and improve the comfort of your home.
HVAC stands for Heating, Ventilation, and Air Conditioning system. This system provides cooling, heating, and humidity control for residential and commercial buildings. Also, it controls the movement and distribution of air inside the room. This system ensures the cleanliness of the air in that environment.
HVAC systems include equipment like a furnace, boiler, or heat pump. This is used for heat generation to warm an internal space. This equipment targets a room or an entire building.
Ventilation maintains the airflow necessary to heat or cool a building. This system exchanges air inside with air outside to ensure a fresh supply. It is a separate system from heating and air conditioning.
This part of the HVAC system handles cooling circulating air. This system might use water or a coolant to control temperatures. Air conditioning works with the ventilation system. It also plays a role in air filtering and humidity control.
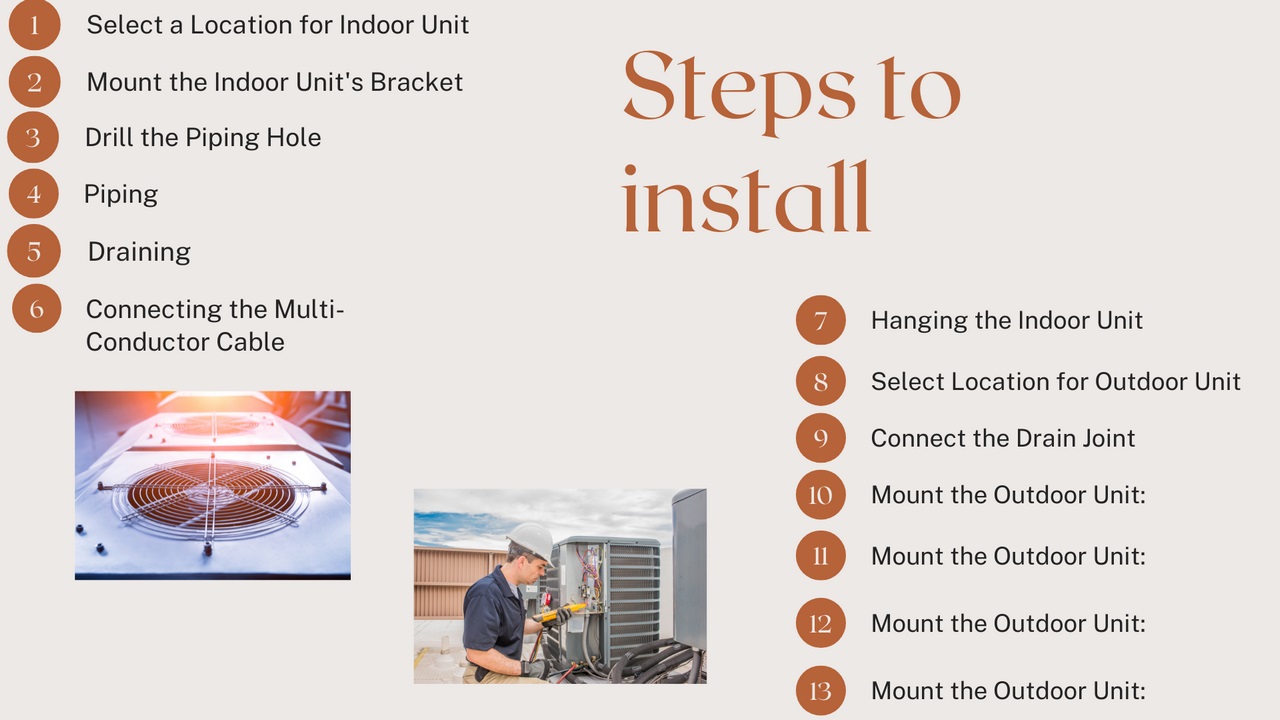
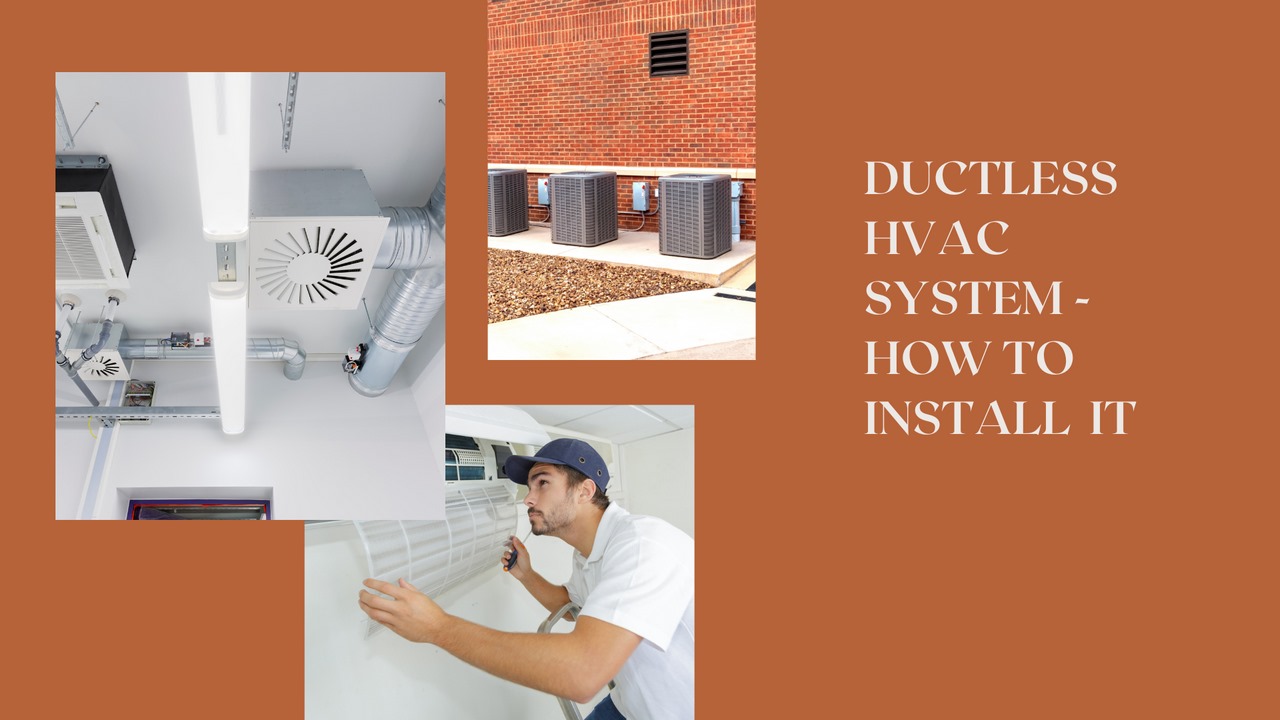
Installing a ductless HVAC system is not as difficult as it might seem. With a little bit of planning and the right tools, you can easily do it yourself. Here’s a step-by-step guide on how to install a ductless HVAC system:
There are 2 main categories of HVAC systems: Ducted and Ductless HVAC systems. Ducted systems have ductwork that carries the air from the furnace or air conditioner to the different rooms in your home.
Ductless HVAC systems have many advantages over traditional ducted systems. They are more energy efficient because they do not lose heat through ductwork, and they are easier to install because they do not require extensive retrofitting. If you’re considering a ductless mini split installation in Monroe, NC, you’ll also benefit from improved indoor air quality, as these systems use advanced filtration to remove allergens and other contaminants from the air. Additionally, ductless mini split systems offer zoning capabilities, which allow you to control the temperature of each room individually, providing customized comfort throughout your home.
In addition, ductless systems provide individualized temperature control for each room, so you can keep the temperature exactly where you want it. Because of these benefits, ductless HVAC systems are an excellent choice for any home or business. If you are considering a new HVAC system, be sure to ask your contractor about the benefits of a ductless system.
A ductless HVAC system does not use traditional ductwork. Instead, it implements individual units for each room inside a property where heating and cooling are desired. Ductless air conditioners are commonly called mini-split systems. It consists of three main components: an indoor unit, an outdoor unit, and remote control.
Read Also:
Installation of a ductless air conditioner requires a few tools:
Select a location that doesn’t obstruct the indoor unit’s air inlet or outlet. A location where the condensation from the unit can disperse evenly and safely.
A location that is out of the reach of people and foot traffic is ideal. The location should be able to support the weight of the indoor unit. The indoor unit is affixed to the wall to reduce vibration during operation.
Avoid installing the indoor unit above any other electric appliances. The indoor unit should be installed at least 6 feet above the floor for optimal performance.
Hold the indoor unit’s wall mounting frame on the wall. Use a Level to ensure the mounting frame is level. Use a pencil to mark the desired screw holes and drill to create a pilot hole. Affix the mounting frame to the wall using sized screws and anchors. Check to ensure the wall mounting frame is properly affixed by pulling on it.
The location of the piping hole could be on either left or right-side outlet from the indoor unit. The copper lines, multichannel wire, and drain tube must all fit in this hole. Create the hole in the wall using a 2.5”- or 3”-hole saw.
Pipes can be led in different directions depending on the unit. It can be orientated from the right or left of the unit. It can also be at the unit’s right or left rear. Route the piping according to unit specifications.
Indoor units are usually pressurized with dry nitrogen. This keeps the unit free of moisture. It also indicates that the unit does not have refrigerant leaks. Removing the plugs releases nitrogen.
Pair the pipe joint with the flared end of the copper line set of the indoor unit. Tighten the union nut with torque and wrench. Specifications are usually added to the unit manual.
The drain hose can be connected to either side of the indoor unit. A plug is present at one end and a drain hose at the other. Connect the drain tube to the same side as the copper wire. Insulate the drain tubing and insert the plug on the other side.
Open the front panel of the indoor unit and unscrew the wiring cover. Run the multiconductor wire through the cable cross hole at the back of the indoor unit.
Remove the wire clips and connect the wires to each terminal. Note that associating wires must match the terminals of the outdoor unit. Replace the wiring cover and tighten the screw, then close the front panel of the Indoor unit.
Bind the copper lines, multiconductor cable, and drain hose together. Allow the drain tubing to escape this binding after a few feet. Then, feed the bound pipes through the pipping hole.
Attach the indoor unit to the wall mounting frame. Ensure there is no air exchange between the piping hole and the space’s exterior. Seal with sealing gum or expanding foam. Ensure the indoor unit is firmly installed on the wall.
The outdoor unit’s installation location is based on the home structure and convenience. The ideal location is a well-ventilated and dry area without direct exposure to sunlight.
The outdoor drain joint should be connected to the hole on the bottom of the chassis. Direct the condensation flow by connecting the drain hose to the drain joint. This step is optional.
Mount the outdoor unit to a concrete pad or wall bracket using foot holes and bolts. These are usually located at the bottom of the unit.
Remove the screw on the right handle of the outdoor unit and slide down the cover. Next, take the panel off and remove the screw cap of the exposed valves.
Connect the flared end of the copper line set to the pipe joint of the outdoor unit. Tighten the union nut with the torque wrench and open-ended wrench. Wrap the lines with insulation tape.
Remove the cable clip on the outdoor unit. Connect the multiconductor cable from the indoor unit to the associating terminals on the outdoor unit. Color-coded multiconductor cables are highly recommended for ease of connection.
The copper lines should be hidden and run along the wall. Line set covers can be employed to cover the copper lines, drain tubing, and cables.
A ductless system consists of a wall-mounted indoor unit and an outside compressor. It could either be a heat pump or an air conditioner. It’s often used in place of a window AC unit or baseboard heating.
When it comes to heating and cooling your home, there are a lot of factors to consider. One important decision is whether to go with a ducted (central) system or a ductless system. Ductless systems have become increasingly popular in recent years, and there are a number of good reasons for this.
First of all, ductless systems are much more energy-efficient than ducted systems. This is because the air is only heated or cooled as needed, instead of being constantly circulated through the entire house.
Additionally, ductless systems are much easier to install than ducted systems, and they can be used in homes that don’t already have ductwork in place. Unlike window units, ductless units need only a tiny hole drilled into the wall. This makes them less vulnerable to air leaks and security risks. Plus, they’re less visible and audible.
Finally, ductless systems provide a more comfortable environment than central systems, since there is no risk of drafts or hot spots. Given all these advantages, it’s no wonder that ductless HVAC systems are becoming the preferred choice for many homeowners.
Ductless models also have inverter-driven compressors. This speeds up and slows down based on the needs of the system. It does not shut off completely like traditional HVAC compressors. As a result, they are exceedingly energy-efficient.
Three strikes against ductless are up-front cost, regular maintenance, and aesthetics. In cold climates, there’s a fourth consideration; the need for a fuel-based backup. This is necessary if you want ductless heat. Some models cannot handle the load when temps fall below zero.
Ductless units cost more than comparable window units or baseboard heating units. In whole-house terms, replacing the existing HVAC system with a ductless unit cost twice as much.
This decreases energy bills in return. This decrease depends on the climate, use of the system, and local electricity rates.
Monthly maintenance is necessary. Ductless fans can’t handle accumulating dust and debris. Regular cleaning of filters is necessary to avoid expensive professional cleaning. This can also shorten the system’s life span.
If you’re considering a ductless HVAC system for your home, it’s important to research and choose the right one for your needs. Ductless systems are becoming more popular daily, and there are many different types to choose from.
Ductless HVCA systems are relatively easy to install. It provides substantial value for your money. The choice between ducted and ductless HVCA systems rests on the desired usage. We hope this article has helped you understand the benefits of ductless HVAC systems and how to choose the right one for your home.