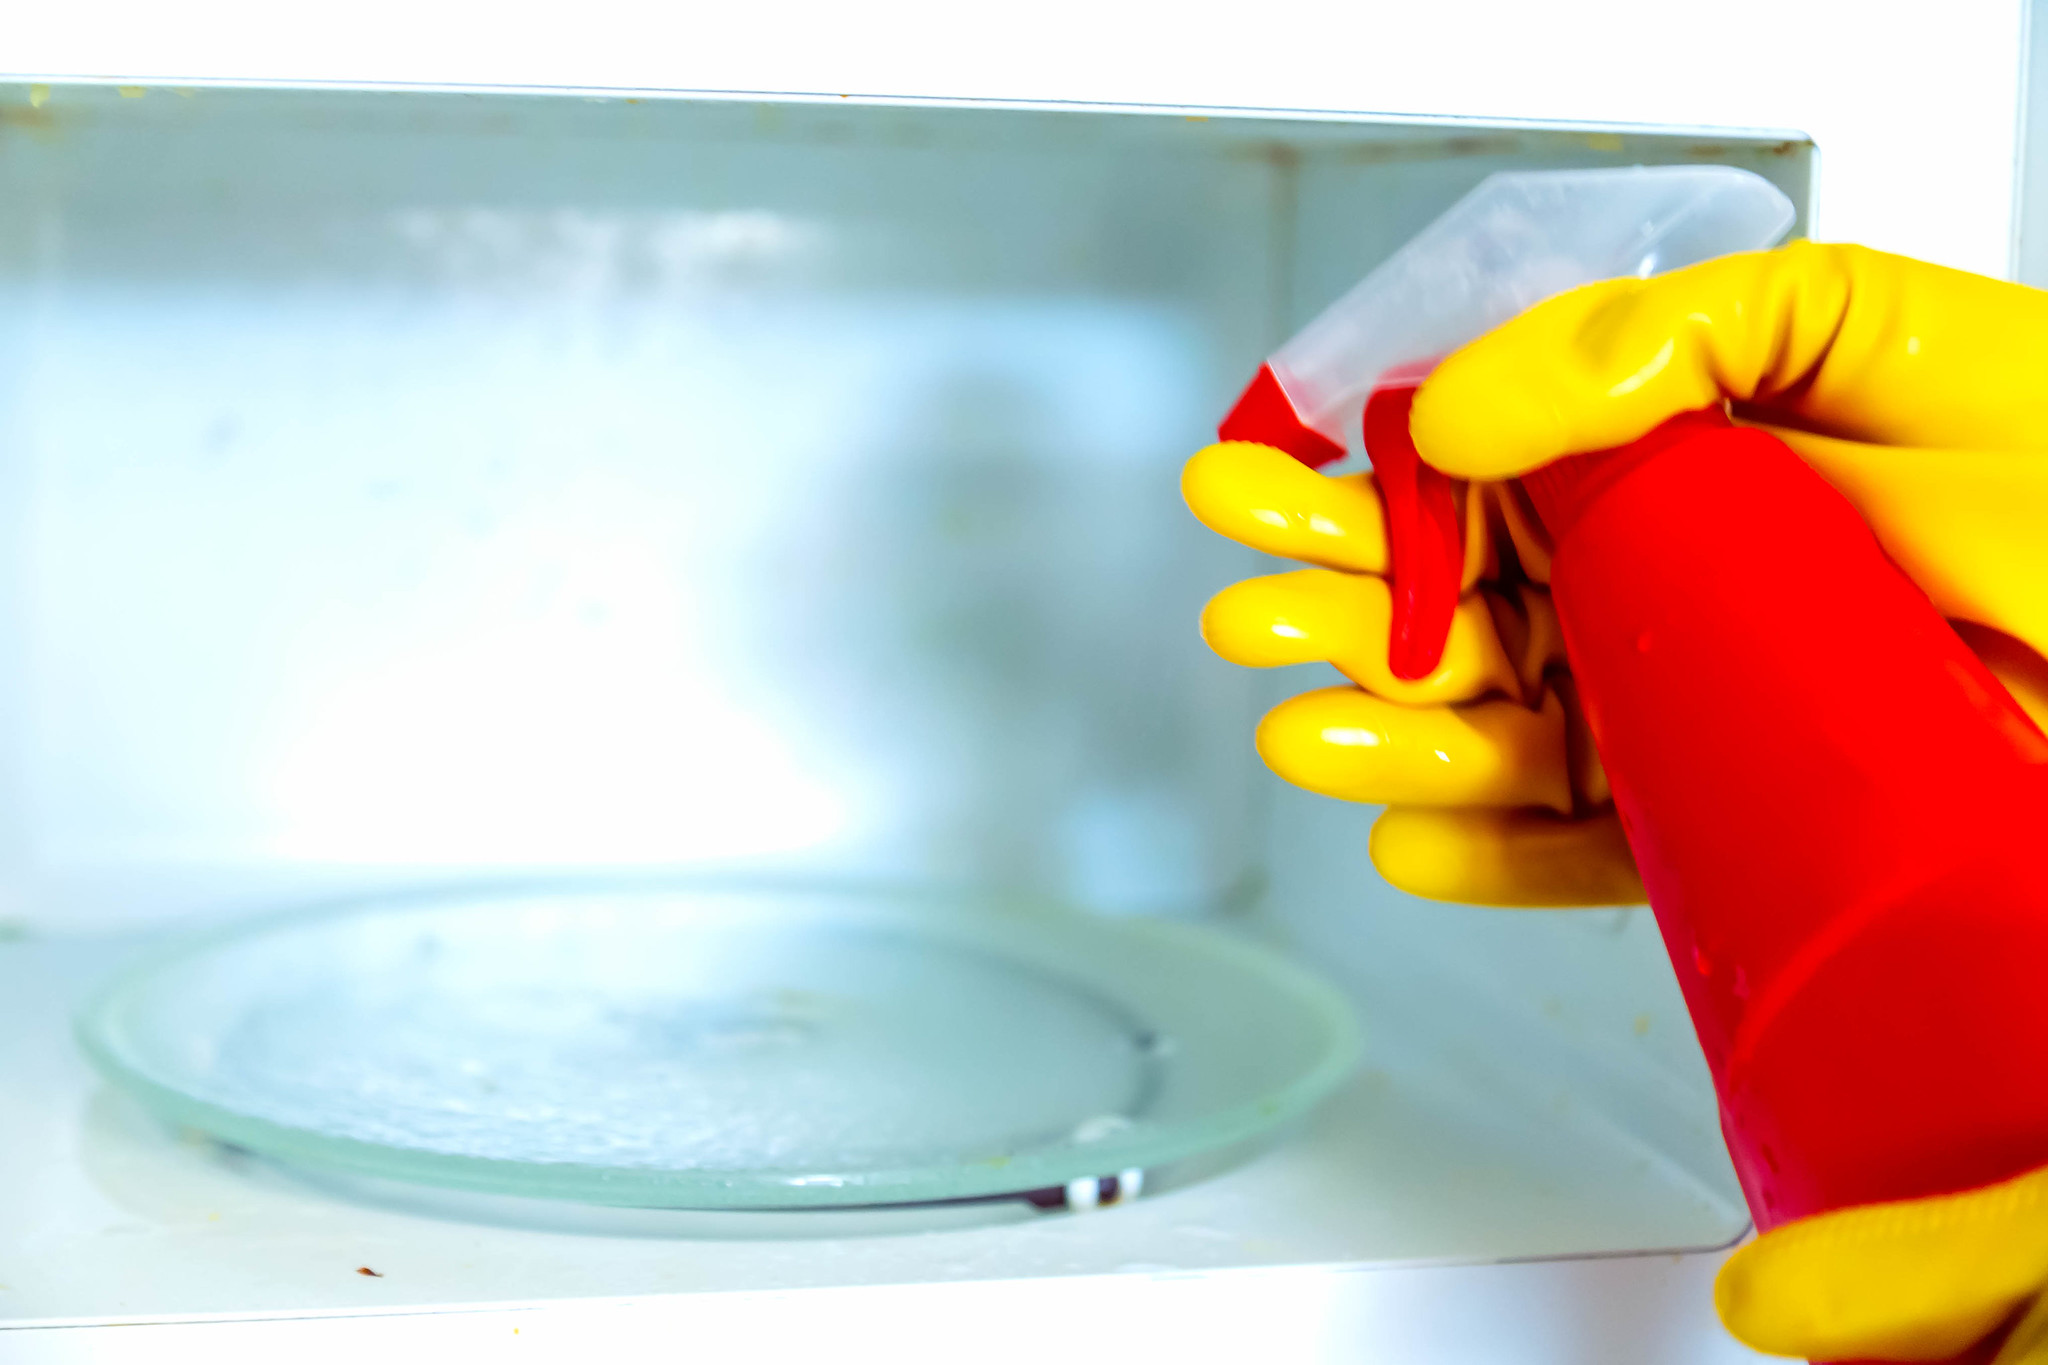
If you have a microwave, it’s likely that you use it every day if not multiple times in a day!
That’s because this trusty ol’ appliance seems to do it all — from heating up leftovers and cooking a meal to making yourself a cup of coffee and some popcorn too — it really does make your home life more convenient.
The only downside is that all of the uses mentioned above tend to take a toll on your microwave’s level of cleanliness, inside and outside.

Spills and splatters are inevitable and, if left as is, contribute to bacteria in your microwave.
Imagine how icky and germy it must be inside there if you haven’t cleaned and sanitised your microwave in a while; yes, it’s not a pleasant thought when you realise that you’ve been eating the food that came out of it!
So, with that horrifying picture in mind, the light at the end of the tunnel lies in our all-natural microwave cleaning guide that has proven to be 100% effective in cleaning and sterilising the appliance, inside and outside!
Check out the simple step-by-step instructions below.
Read Also:
Apart from the environmental benefits of cleaning your house naturally as opposed to using chemicals, the best part about our natural, DIY microwave cleaning guide is that you will find everything you need in your own home!
If you don’t, however, it won’t cost you nearly as much as paying for store-bought cleaners to get the job done.
Here’s what you’ll need to clean your microwave with household ingredients:
Yes, this is to be done in the microwave itself. Simply mix equal parts water and white vinegar in a glass bowl (avoid filling it more than ¾), place it in the microwave, and heat for 3-5 minutes, or until you see the interior sweating.
When the microwave is switched off, unplug the appliance, and take out the bowl; keep it aside. Using oven mitts, carefully remove the turntable and soak it in a solution of water and vinegar.
This can be done by plugging your kitchen sink and making a solution in it with warm water (4 parts) and vinegar (1 part). After it has had a little time to soak, scrub and rinse it off before leaving the plate to dry.
Make sure the interior is cool enough to touch before you begin cleaning the inside of your microwave. This is when you will also need to wear rubber gloves as things are about to get messy!
If the insides are still sweating, use paper towels to wipe them down including the top and back of the appliance, leave the bottom for last (after spot cleaning stains).
If the interior has dried up, dip a clean scrubber in the water and vinegar solution, squeeze out excess water, and wipe down the insides.
Don’t worry about using too much elbow grease to remove stubborn food bits or stains, we will tackle them in the next step.
The goal here is to remove loosened grime and grease while paying attention to corners and edges. Be sure to rinse off the scrubber at intervals to clean more efficiently.
Dampen a toothbrush in white vinegar, dip it in some baking soda, and scrub the hardened food bits and stains away. It helps to heat the vinegar when dealing with stubborn or charred food stains.
After you’ve successfully spot-cleaned stains in your microwave, it’s time to deal with the mess on the bottom.
Start by holding a dustpan below the appliance; use it to collect debris as you wipe the bottom with paper towels. Alternatively, you can use a handheld brush to do this.
After the initial wipe down and spot cleaning, your microwave interior will require one last wipe for a thorough clean.
First, the bottom (and dirtiest part) of the inside will need to be cleaned with baking soda and vinegar to remove grease and stains. To do this, sprinkle the bottom with baking soda and spray it with some raw vinegar.
You will start to see the ingredients bubble or foam; allow this to work on the surface for a couple of minutes before cleaning with a scrubber.
At the end of this process, wipe down the inside of your microwave with a clean, damp kitchen towel to remove traces of the cleaning agents.
Put your spray bottle and raw white vinegar to work again by simply spraying the glass and wiping it clean with paper towels.
Typically, this is enough to get both sides of the door looking spotless, however, if you are dealing with stains on the inner glass, make a paste of water and baking soda to scrub them away before spraying and cleaning the surface with vinegar.
The last and, possibly the easiest, step is to clean the exterior of your microwave. Once again, a little water and vinegar are all you need for an efficient clean.
Perfect for removing grease and mild stains, simply dampen a clean kitchen towel with the solution and wipe down the panel and other sides of the microwave’s exterior.
Leave the door open for the interior to air out and dry properly before replacing the turntable and plugging in the appliance.
Pretty simple, isn’t it? With this all-natural microwave cleaning guide, you’ll never have to worry about traces of bacteria and chemicals left in your freshly cleaned microwave!
Don’t have time to clean your microwave, choose a professional home organizer or house cleaning company to do it for you.